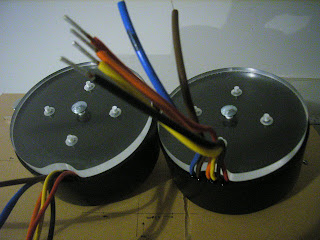
My next step was to construct a couple of plates for the transformers to sit on. I needed to make something that would allow me to attach them to the front panel. The good thing about using wood, is that you can easily screw things into it. I have heaps of plastic at home, as you may have noticed, so it was a no brainer to construct them out of that.
 I had to cut a little piece out at the bottom to allow the cable to sit into so as not to get crushed when I screwed them down to the base of the front panel.
I placed some washes under them as the bolt for the transformers was not countersunk enough, which didn't worry me as no one would see it anyway. Note the really high tech and accurate alignment method I used for the two base plates? Masking tape............I just use what I've got and I usually make it up as I go along. I have a fair idea in my head what it's all going to look like, but until I sit down at my little desk in the garage, I don't really know how I'm going to go about it. In fact I don't even have a plan drawn out or anything measured up. Which is a bit silly as I've made 3 other ChipAmps and after each one, I tell myself to plan and draw up the next one before I start cutting anything, but it never happens......
What ever happens...happens...........hehe.

Wow look.............. I even bought some of that there special screw thingy's with nylon in so they will lock down, well I think they will.

These will have to be taken out again at some stage before final fitting, and when I put in the rest of the power supply.

I even had time to cut the holes for the input and output connections. Although in my rush to get them done, I messed up the RCA holes. Perspex is really easy to damage and I did just that. I managed to split the edges, so I placed a couple really big washes on both sides of them to cover it up.
O.K so the next post will be regarding the caps and the power supply.............see ya
No comments:
Post a Comment